The Creative Process for Hand-Dyed Colorways
My process for creating coordinated collections of hand-dyed yarn, embroidery threads, and fiber for spinning.
If you’re just stumbling across my little corner of Substack for the first time, allow me to share a few brief words of introduction.
My name is Melissa. I am the founder and dyer behind Storyteller Stitchery, where I make and sell hand-dyed yarn, fiber (for spinning and felting), silk embroidery threads, and wooden tools and notions for fiber artists.
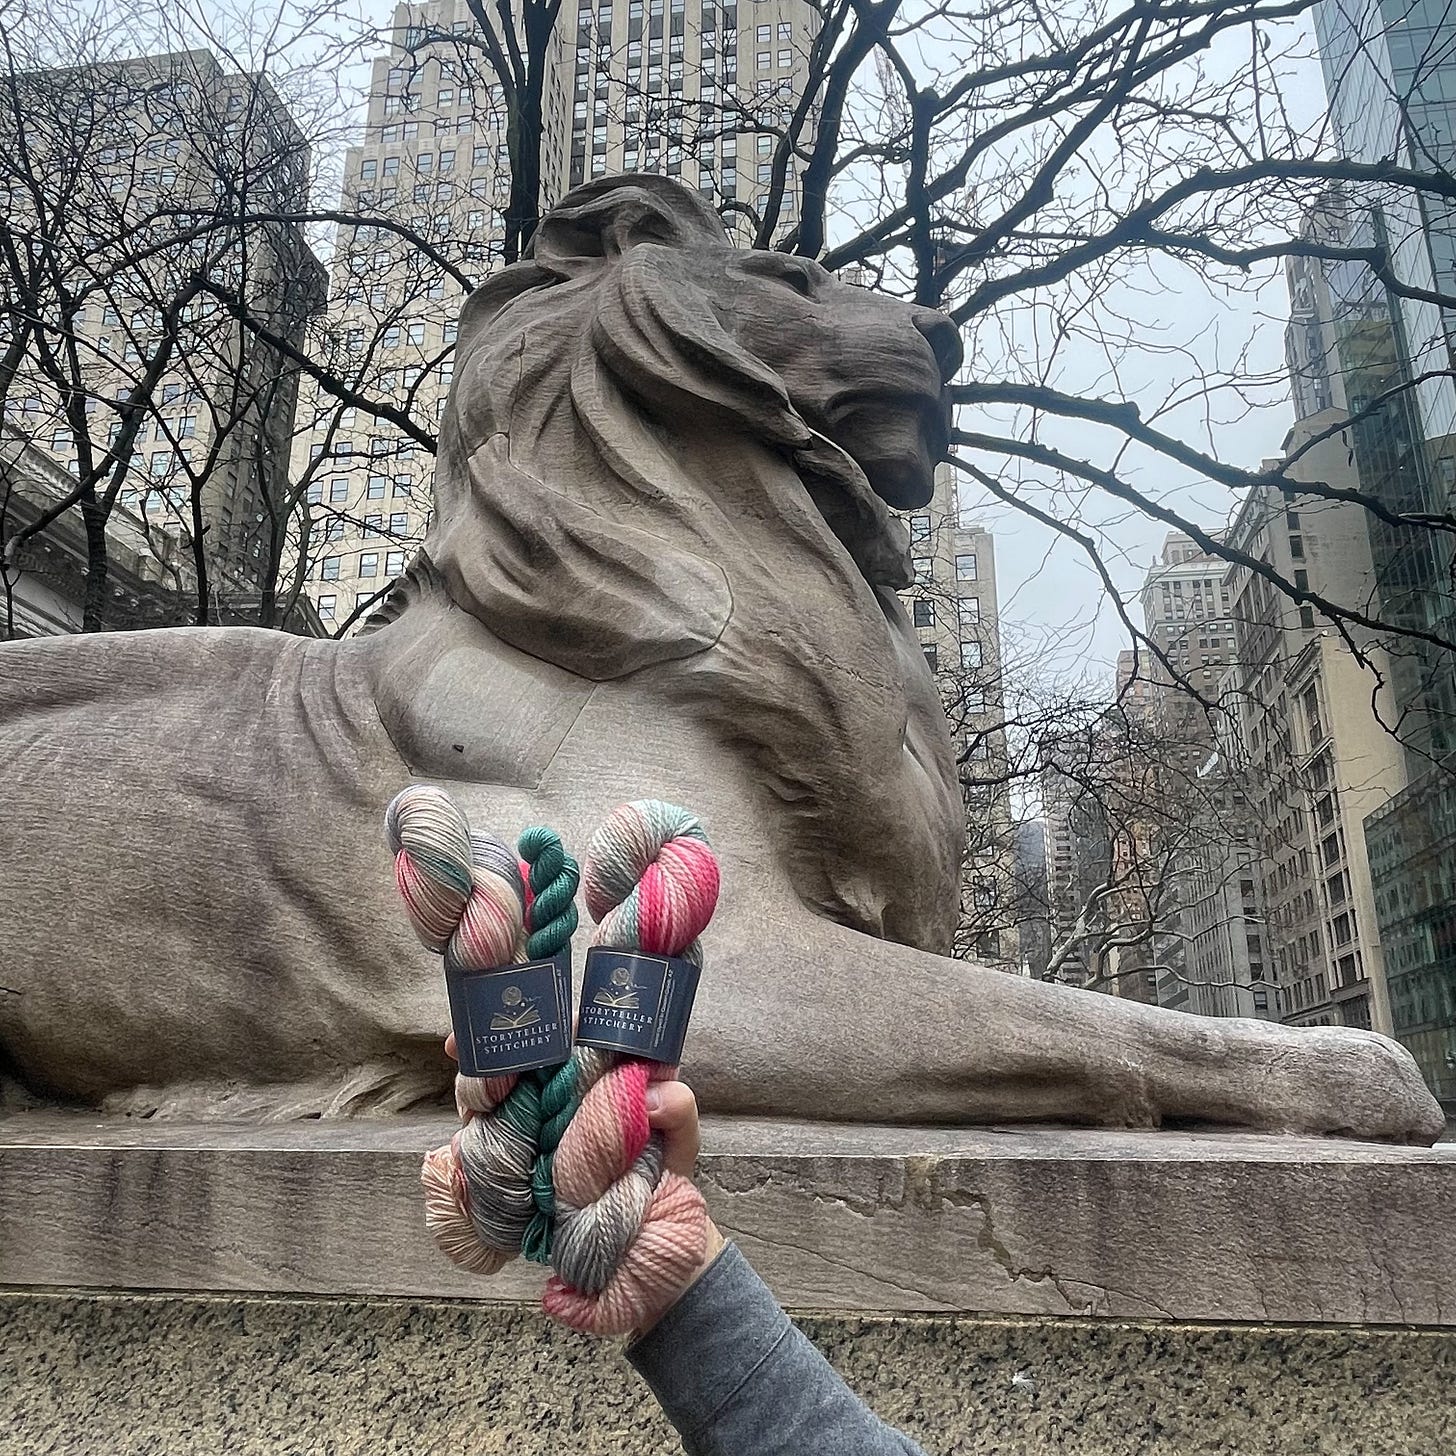
I recently designed a color way named “Patience and Fortitude”, after the two lion statues sitting proudly outside of New York Public Library. We attended the Vogue Knitting Live event in New York City at the end of January, and I wanted to create a New York inspired color way with literary roots, and donate a portion of the proceeds to New York Public Library (NYPL). I thought it might be fun to use this color way as an example and share some of my processes for creating a new colorway, going from initial idea through color exploration and testing, before finalizing the recipe into a repeatable colorway.

Starting out: initial ideas
My ideas for new colorways can come from many places. I’m inspired by stories - often a book or a character, but sometimes stories of nature or place, such as my Copper State and Saguaro Sunset color ways that capture some of the stories held by the Arizona desert, which I have called home since 2007.
My process always starts with daydreaming and mentally picturing aspects of that character, place, or story. Do I want deep and moody? Bright and colorful in childlike ways? Complex and messy, or simple and clean color combinations? This is a very intuitive process and starting here gives me a general “feeling” that I want the color way to have. Usually at this point I don’t have the specific colors figures out, that comes later. Though sometimes there are one or two colors that I know for sure I want to include. For the Patience and Fortitude color way, I knew I wanted the base of the yarn to reflect the sandstone building.
Visualizing: Creating a Mood Board
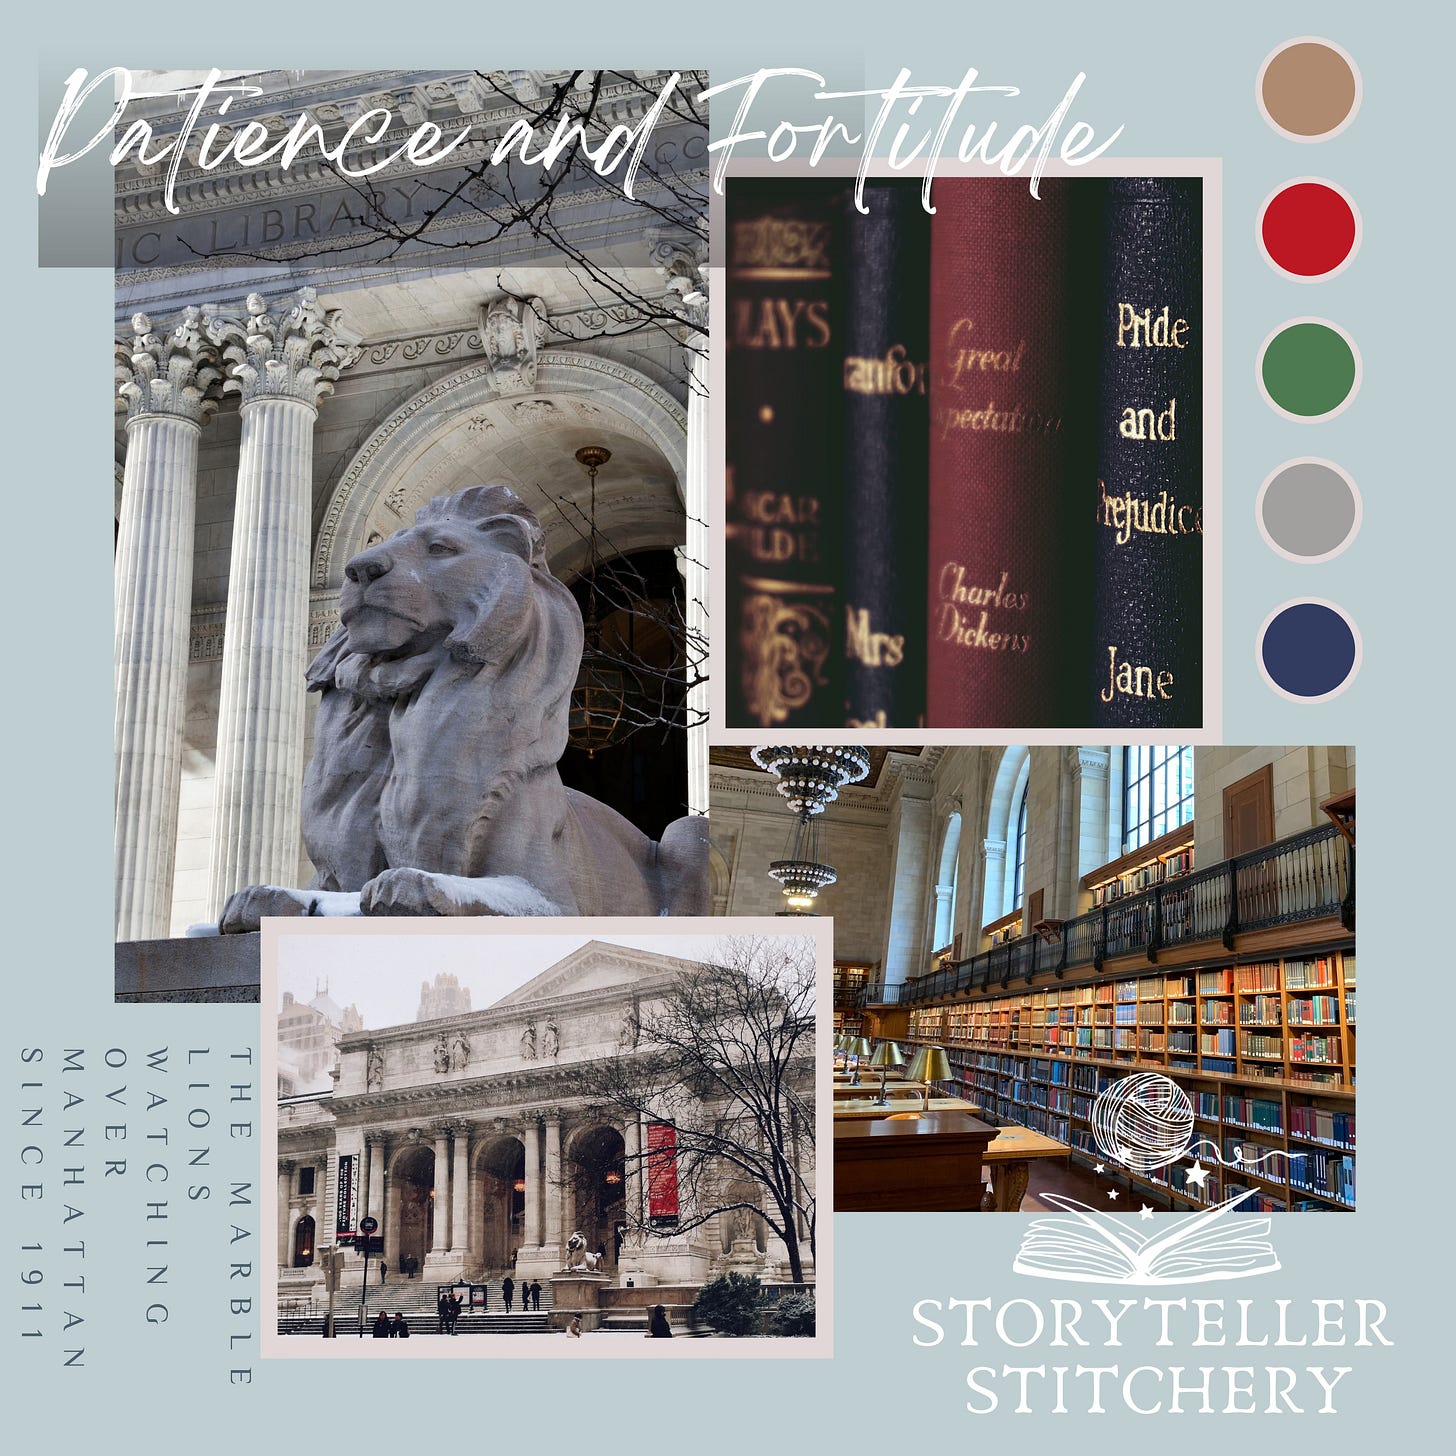
My next step after the initial daydreaming and visualizing is to create a digital mood board. Here is the final mood board for Patience and Fortitude.

Sometimes I have a very clear vision of what should be reflected in terms of the mood and colors, and sometimes it takes a lot of playful changes, trying different images and exploring by tweaking colors, until it “feels” right. This is another intuitive process without right and wrong steps and I try to keep the process playful, creative, and led by my curiosity.
The images and color scheme in the moodboard guide me in terms of look and feel, identifying the colors I plan to include in this colorway, and also inspiring the dye techniques I will use for applying the colors. There are many techniques for applying dye to wool that affect the final look, including:
How and in what sequence is the dye applied to the wool?
How much water is used?
Is the wool soaked in water and/or acid ahead of time?
When is the acid added? (usually citric acid or vinegar)
What is the concentration of the dye?
What is the weight of the fiber being dyed? (this in combination with the concentration and preparation of the dye allows you to modify the depth of shade from a single dye color)
The many techniques and styles available to dyers allow us the opportunity to create unique yarn. It truly is a work of art and expression of style from the dyer, and is the reason that you can sometimes see an image of hand-dyed yarn and recognize who the dyer could be. Using the same 4-5 colors can create many different colorways that look dramatically different depending on the factors listed above, and the techniques used to apply the dye. Speckling with navy dye powder, for example, gives a very different look compared to adding navy dye into the dye pot, or pouring navy dye solution directly onto the wool, or “glazing” by adding it over the top of other colors.
As I review the mood board and think about the look I want to achieve, I start to form an idea of how I will use and apply the colors.
As I developed this mood board for Patience & Fortitude colorway, I planned a base that reflects the sandstone building of New York Public Library’s building. I also wanted to incorporate the red and green of vintage leather books. I adjust the color palette of the mood board to try to reflect the different elements I am trying to create, but I’m also considering whether it is balanced while also being interesting.
Another consideration at this visualizing stage is the products I plan to dye in this colorway. If I know I want to feature it on yarn, braids of fiber, and embroidery threads, I’ll consider that as I’m finalizing the mood board, though yarn gives the most freedom in terms of different application methods. Fiber for spinning, and silk embroidery threads, are a little more limited, so I always start a colorway focusing on the yarn first, but I do consider how I can translate the colorway to other mediums.
Dyeing each of these (yarn, fiber, embroidery threads) is very different and unique, and techniques that work for one won’t work for another. I create a coordinating colorway collection across the different products, but they won’t be dyed in the same way and though they are coordinated, they won’t look exactly the same.
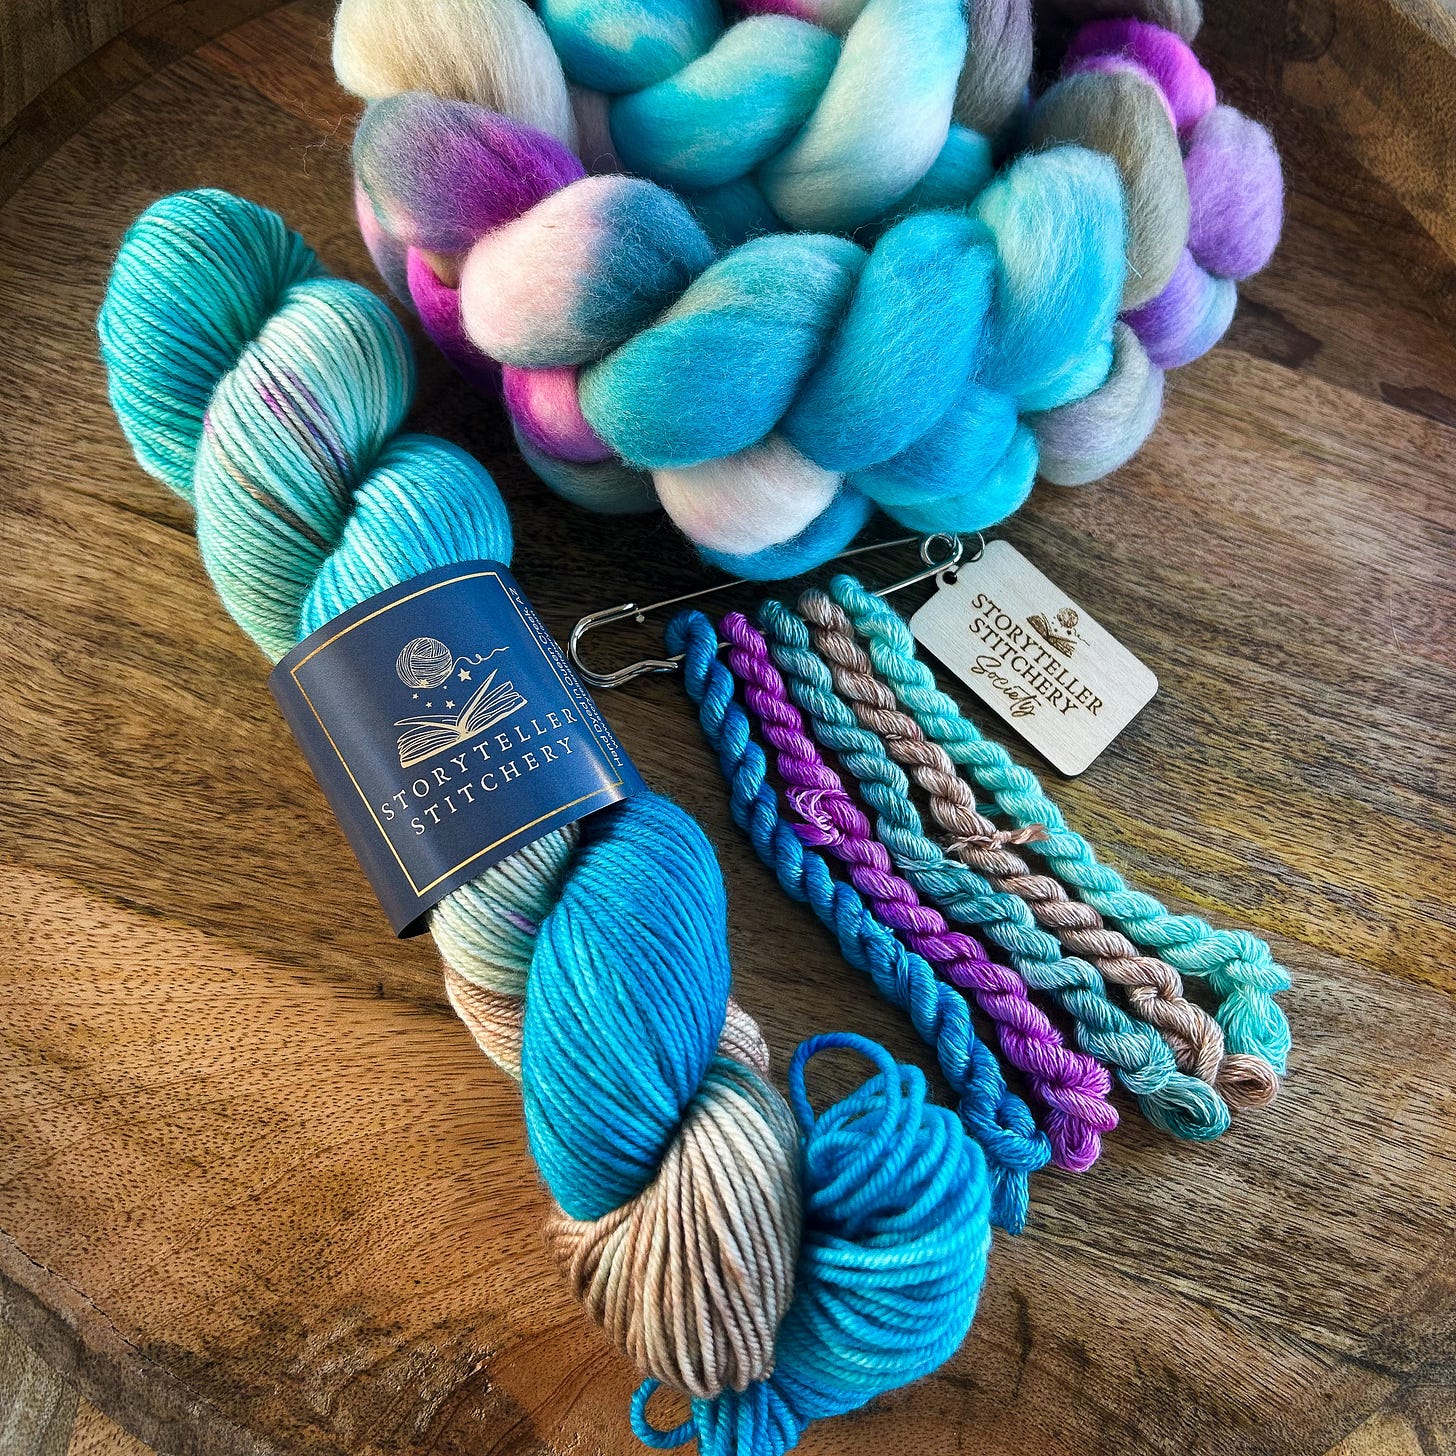
As an example, here is January’s Storyteller Stitchery Society collection.

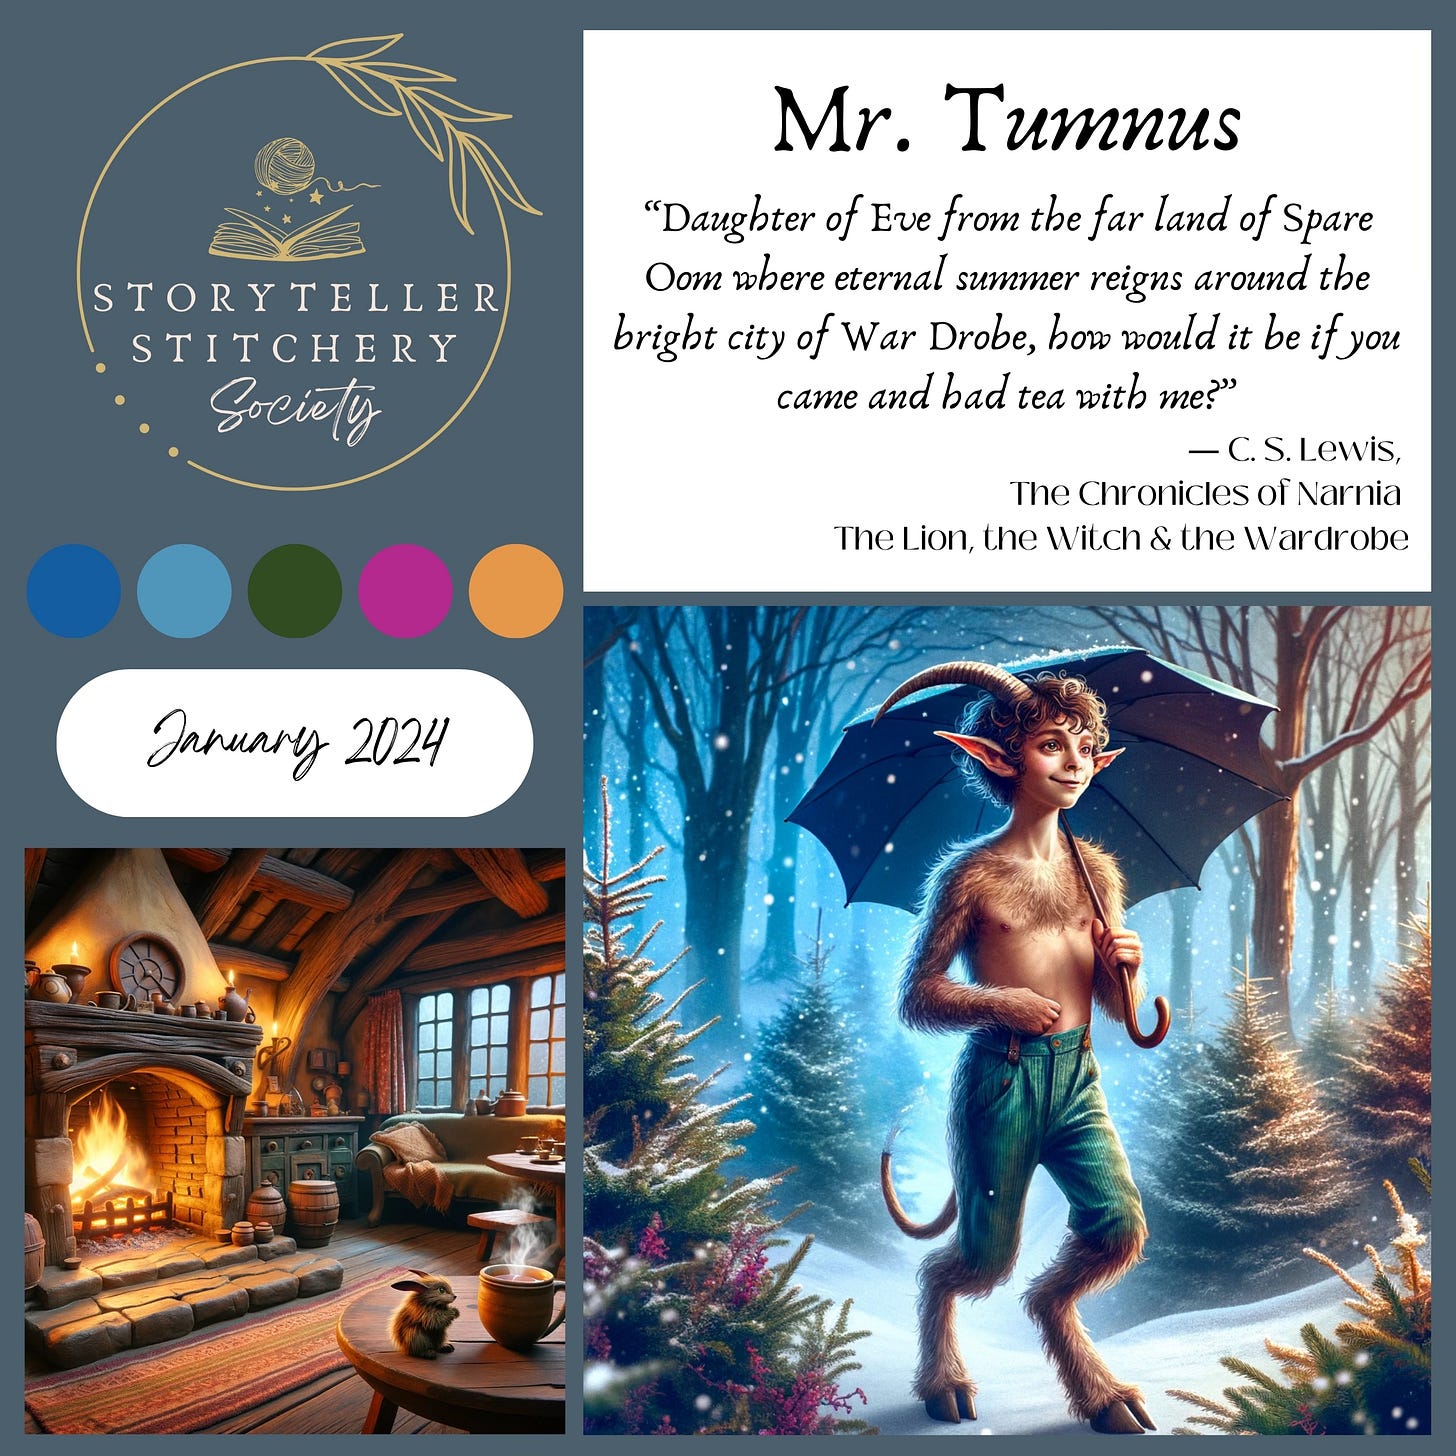
Each month I create a new collection for Society members inspired by a new book. This one is named Mr. Tumnus and inspried by the cozy warmth of Mr. Tumnus’s home, where he served tea to Lucy, while they took shelter from the cold Narnia winter outside. You can see that they are coordinated and clearly belong to the same collection, but the yarn, fiber, and embroidery threads are all unique and dyed in different ways to achieve the best results for each product.
Here is the mood board created for the Mr. Tumnus colorway from January’s Storyteller Stitchery Society parcel:

Experimenting: Dyeing Yarn
By now I have spent a lot of time thinking about the colorway and creating a solid idea, both mentally and through the digital mood board. Now comes the fun part of playing with wool and colors in the dye studio!
At this experimentation stage, I have my starting point for the colors I plan to use and the techniques I will use, to try to achieve the look that is in my head. This stage is a fun process of pure exploration to try to create the thing that I can now see pretty clearly in my mind, and try to make it real.
Sometimes I get it on the first try and create the yarn that exactly matches what I have in my head.
Usually I don’t, and it takes multiple trials.
Taking notes at this stage is essential! I learned a long time ago that the things I’m sure I will remember, I will inevitably forget. The mood board helps guide me in this experimentation phase, as I have a starting point for colors and techniques, which really helps to streamline this process.
In terms of color, I begin mixing dyes much like a painter might mix paints, to achieve the colors I am looking for. This is done in jars with scales and measurements and lots of scribbled notes to make sure I can accurately recreate the colors in the future.
Once I am happy with my color selections, I move into applying dye to yarn using various techniques.
Finalizing the Recipe
As I fine-tune the colors and dye techniques (for example, I might add the acid later, or use less water, or possibly apply the colors in a different sequence or “pattern“), I keep scribbling notes to capture everything I am doing until I produce yarn that matches the vision is in my mind.
If I’m creating a colorway collection, I always finalize the yarn first and then move on to fiber and embroidery threads. Yarn is far easier to work with in the dye studio and as I mentioned, provides much more flexibility to apply dye in different ways and achieve varied results. I’ve found that finalizing yarn design first makes the next steps of creating coordinating recipes for the silk embroidery threads and fiber an easier process.
Documenting the Recipe
Once I am satisfied with the colorway and techniques, I take my note book of scribbles and document the recipe digitally.
I also try to snap pictures of the dye tray, as a visual reminder of how and where I apply the speckles, stripes, and gradients, and add the photo to my digital recipe. This is an important step because I will not remember the specifics and small details the next time I go to dye this colorway. I don’t want to be in the dye studio a week from now trying to decipher my scrawled notes, complete with cross-throughs, scribbles in the margins, and stars to indicate additional notes. When I am in the studio dyeing, I want to make sure that my recipes are clear and easy to follow, so that the yarn, fiber, and embroidery threads are as consistent and repeatable as possible. Of course, there will always be some variance with hand-dyed products and that is part of the beauty! But it is important to me that when someone chooses to use Storyteller Stitchery fibers and products in their projects, they can achieve a consistent and reliable look, especially when they are using multiple skeins or braids in a project.
Let me know in the comments - if you create hand dyed items, what does your process look like? Is it similar to mine? Is there a part of my process you’d like to learn more about through a more details Substack post or video?


